Langsung ke konten utama

Charcoal Grey Mahogany Sideboard


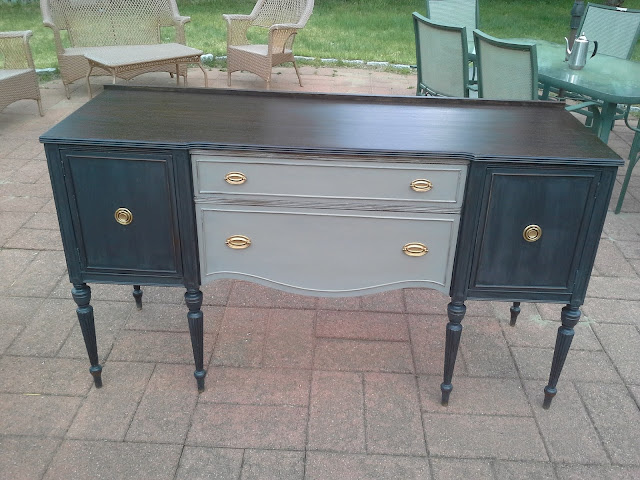
Charcoal Grey Vintage Mahogany Sideboard

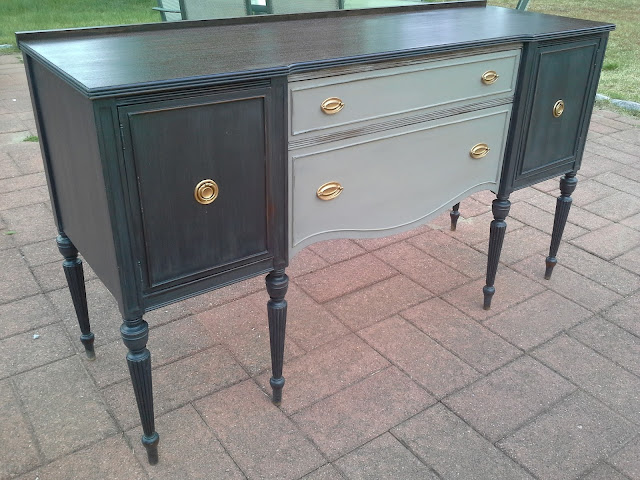
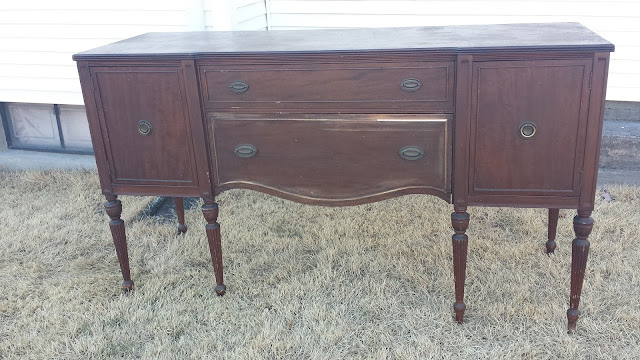
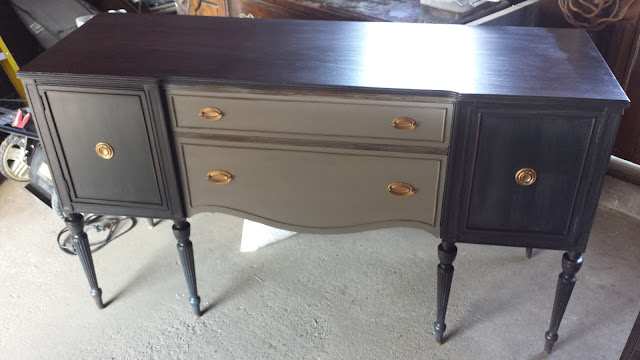
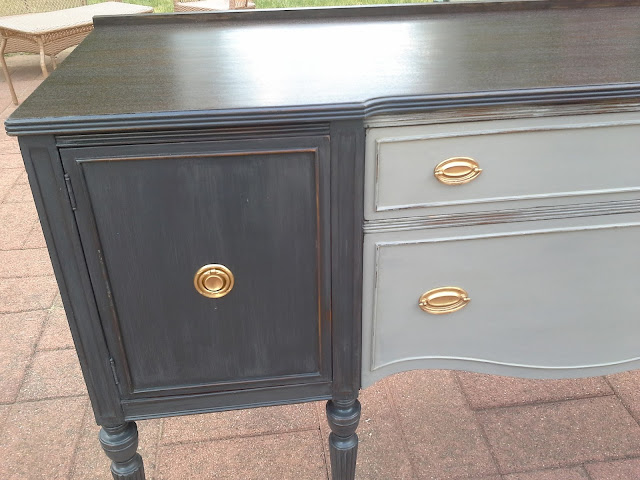
On a shopping trip to Goodwill, I spotted this vintage mahogany sideboard and snatched it up right away.  It took me about a week or so to get started working on it because I couldn't decide on a color for it.  My head was sniping all over the place, so I looked for inspiration in Pinterest and that made it worse because then I had a ballillion choices.  I finally had a vision in my head of how I wanted the piece to look.  My gut was telling me to paint it in a dark charcoal grey with the middle section in a light grey and stain the top.

Charcoal Grey Vintage Mahogany Sideboard

Charcoal Grey Vintage Mahogany Sideboard

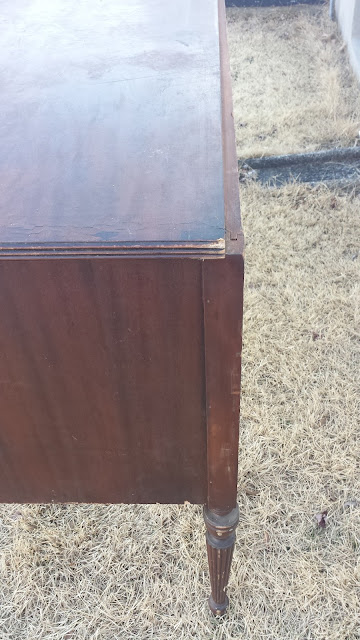
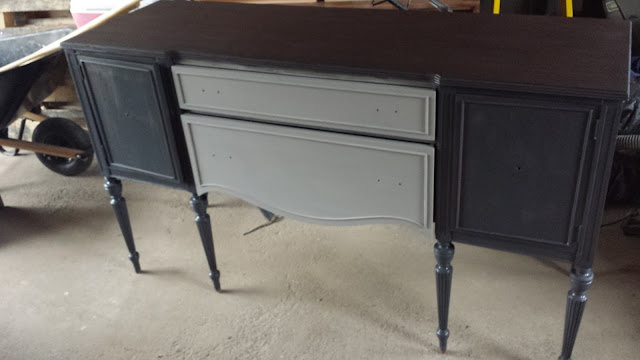
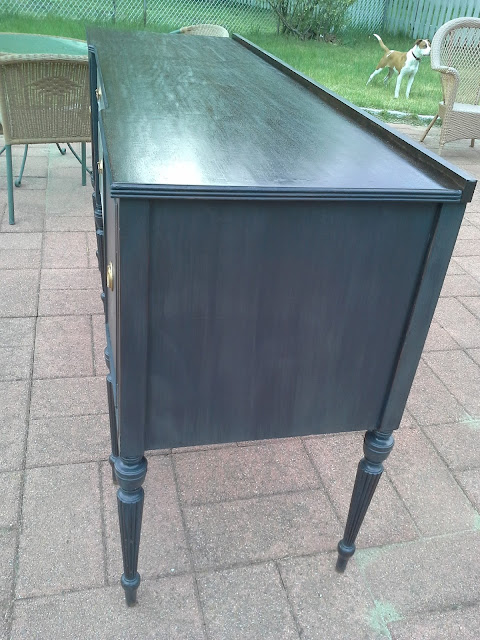
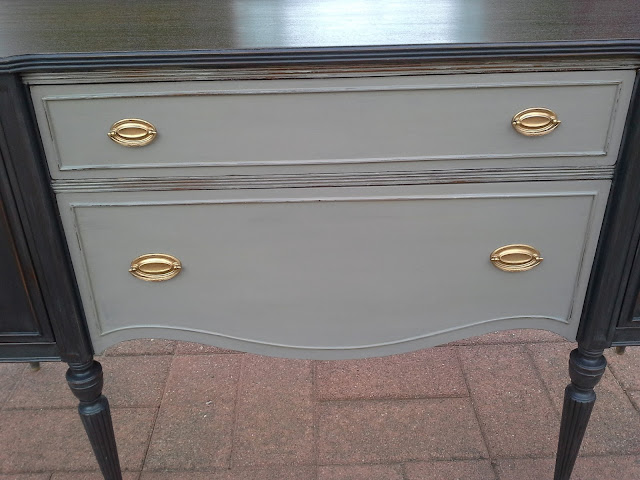
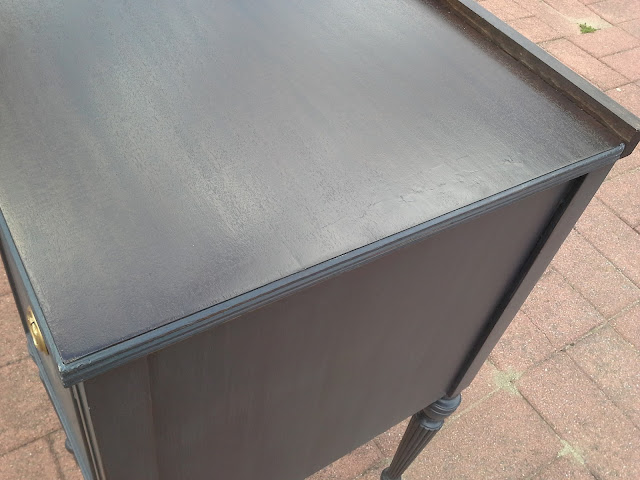
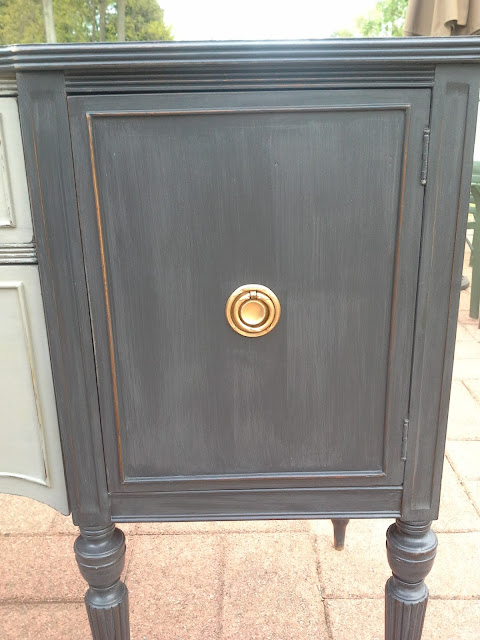
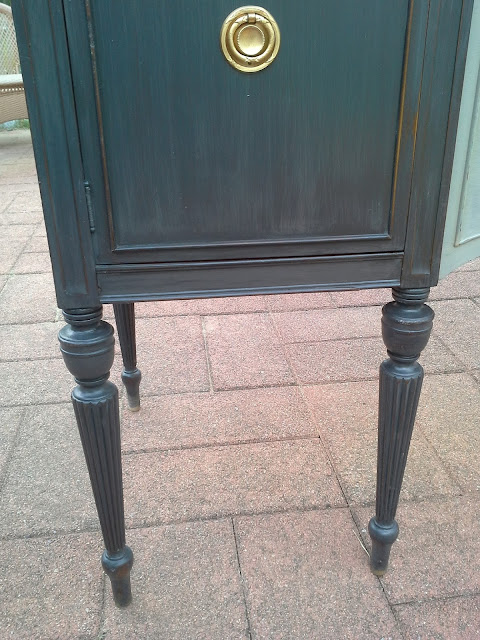
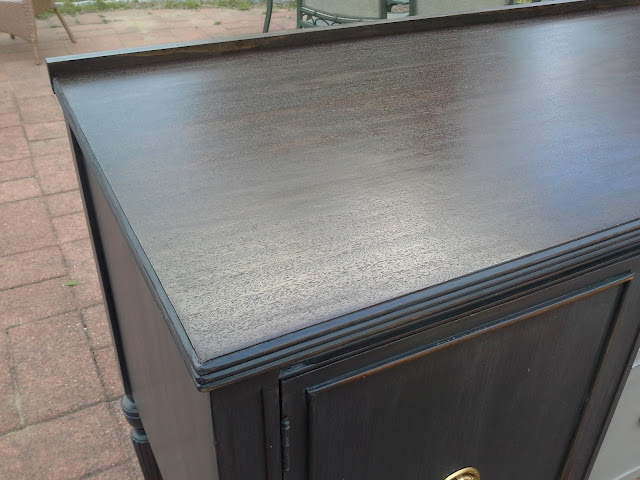
I started by sanding the top finish off completely working my way from coarse, to medium, to fine grit sand paper for a smooth finish.  I gave the body a light sanding with fine grit too.  Then I filled some spots where the veneer was missing.  Rustoleum's Kona gave the top a nice, even tone.  I mixed my own chalk paint for this piece.   After a few coats of each color, I let the paint dry over night and came back the next day and sanded the whole piece to remove any bumps and lightly distress the edges.  I sealed the bottom portion with Minwax polycrylic in satin and the top in gloss finish.

Charcoal Grey Vintage Mahogany Sideboard

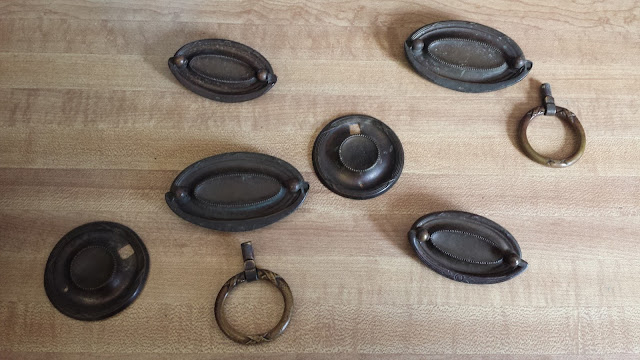
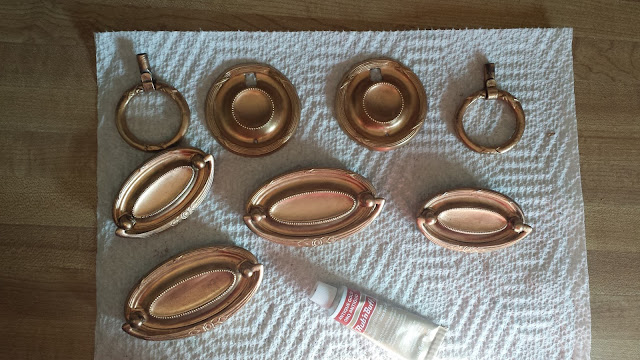
I liked the original hardware but I wanted to remove the years of tarnish, to give them a fresher look.  I used Bar Keepers Friend, it was working quite well.  They were a nice brassy color underneath, unfortunately two of the hardware pieces had a silver tone to them.  I needed another solution so I thought about using Rub and Buff.  I've never used it before but read good things about it.  I went to two different craft stores near by and neither of them carried it.  One of them had a similar product called Metallic Luster.  I bought it, took it home and tried it out but it was a bust.  It didn't work for me, it was too much of a bright gold and the finish was translucent.  Maybe I didn't do it right, I don't know.  Anyhow I finally found Rub and Buff at Hobby Lobby and it worked like a charm.
     
Charcoal Grey Vintage Mahogany Sideboard
Charcoal Grey Vintage Mahogany Sideboard rubb and buff hardware

The decorative trim from the top back was missing so I picked up a piece of 1x2 at Home Depot.  My hubby cut it for me and then I screwed it in from the back, stained it and sealed it.   I also added some wooden corner pieces as supports to give it more stability since it is such a top heavy piece.
Charcoal Grey Vintage Mahogany Sideboard

Charcoal Grey Vintage Mahogany Sideboard

I am totally in love with how this Charcoal Grey mahogany Sideboard came out.  I wish I had a bigger house so that I could keep it!  I say that a lot but it's not true, I actually love that our house is not so big, it's perfect for us.  I guess what I mean is, I wish I needed it or had a spot for it at home, but I don't so hopefully this vintage beauty finds a perfect home soon.

Charcoal Grey Vintage Mahogany Sideboard

Charcoal Grey Vintage Mahogany Sideboard

Charcoal Grey Vintage Mahogany Sideboard

Charcoal Grey Vintage Mahogany Sideboard

Charcoal Grey Vintage Mahogany Sideboard


Charcoal Grey Vintage Mahogany Sideboard

Charcoal Grey Vintage Mahogany Sideboard


Charcoal Grey Vintage Mahogany Sideboard

Linking up to

Postingan populer dari blog ini

Kitchen Cabinet Makeover Reveal

Finally, I'm going to share the kitchen cabinet makeover reveal!  It took us a lot longer than we expected to get this done. But we are finally putting the paint brushes and the rollers down.  At least until we recoup from all the unplanned painting we did these past few weeks.  We didn't have a plan for this or a budget because it wasn't in the cards to do this project just yet.  I don't know if you recall from this  post but this all started because I wanted a cup of tea .  First I just wanted to do a quick reorganization, then I started  pulling off contact paper , next thing you know I'm removing doors and  stripping paint off the kitchen cabinets .  We didn't think things through we just went with it.  Before we had clumpy, flat painted ugly cabinets.  I'm not exaggerating, you can see for yourself here .  Whenever we would clean a them the paint would come off because they were not primed.  They were painted with a flat, cheap paint that would absorb s

Lining Shelves With Contact Paper

It all started when I wanted to drink a cup of tea!  Now what does drinking a cup of tea and lining shelves with contact paper have to do with each other, you ask!  Well the cabinet was overstuffed and when I reached out for the tea box, it and other miscellaneous stuff fell out of the cabinet.  I thought to myself, while the water for my tea simmers I can quickly empty out the cabinet and reorganize it, it's just a small cabinet it wont take more than 5 minutes, right?  Wrong, wrong, wrong! I emptied it out and the contact paper that was put there by one of the previous owners was hanging in the front and I decided it was time to pull it off!  Well, once I pulled it off I remembered why it was still there in the first place.  When we first moved in, I went to remove the contact paper from one of the other cabinets and there was another paper underneath it that was torn around the edges and I tried to remove it but that thing was super glued.  I decided it was a job f

Best Home office Simple Design Ideas Near Me

Our new house has a spare room that we use daily to enter the house and where we greet all of our visitors since it is our main entrance.  It quickly became a catch all room where we would just dump everything we didn't want to deal with at the moment.  That was a really big problem and it was stressing me out.  I wanted to turn it in to a home office space and create a  functional entryway.  I wanted it to be beautiful and reflect our style and I needed to spend as little as possible. After pic my desk area Planning my desk area I knew what I wanted to do, I was just so overwhelmed that I didn't know where to start.  So I made a list (I always make a list) and got to work. To make the entryway functional we needed to add hooks for jackets, handbags, etc, etc... and a bench to take off our shoes.  We already had a few pieces we planned to reuse in this space.  In our previous home we had purchased a shoe cabinet from Ikea that has served us well and was in perfe