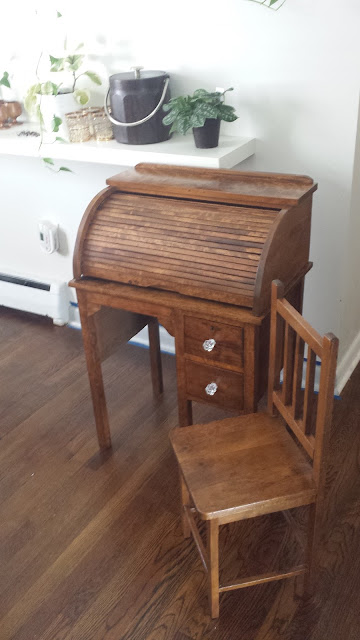
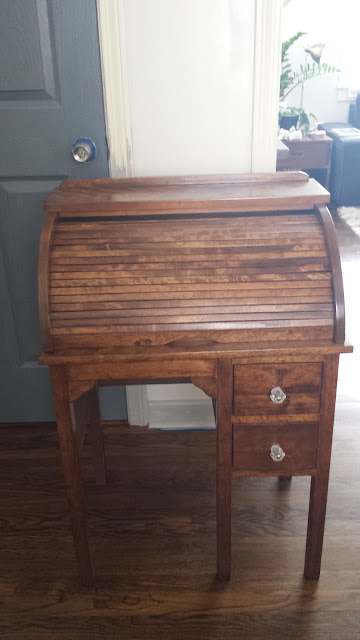
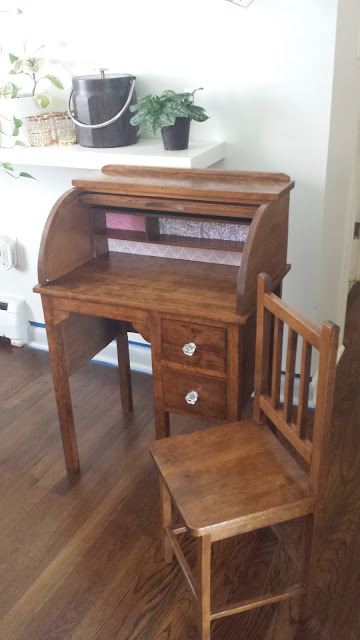
This is my first ever refinished roll top desk!!!!!! This was, gosh , I am not going to lie, a little bit of an intimidating project for me. When my customer arrived with the bookshelf I was going to paint for her, she also brought a little desk and a chair and asked if I could refinish them too. Of course I said "sure!" Inside I was thinking, this looks tricky with the roll top and the cubbies but I was still confident I can do it, I just wasn't sure what techniques I had to use. She didn't need it right away so I had plenty of time to study the desk and research techniques that I could use on it.
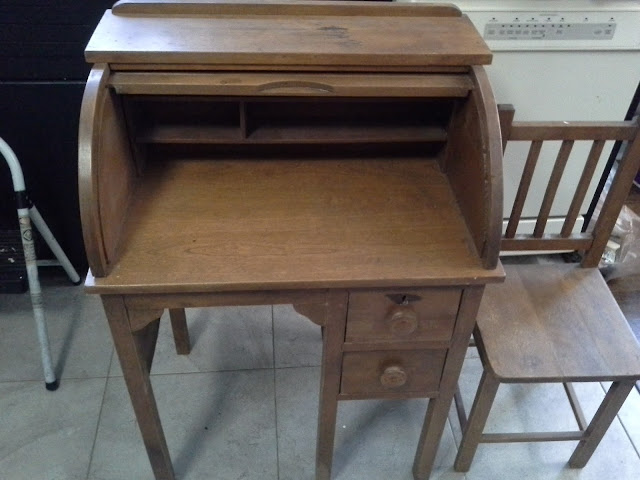 |
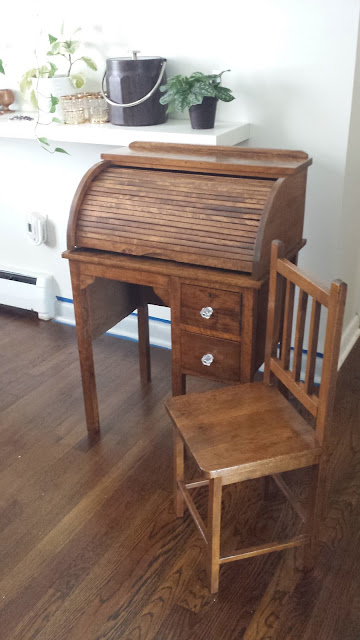
| Before both pieces |
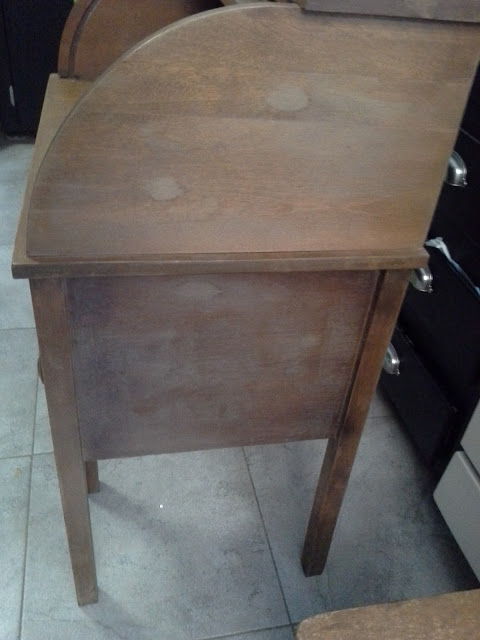 |
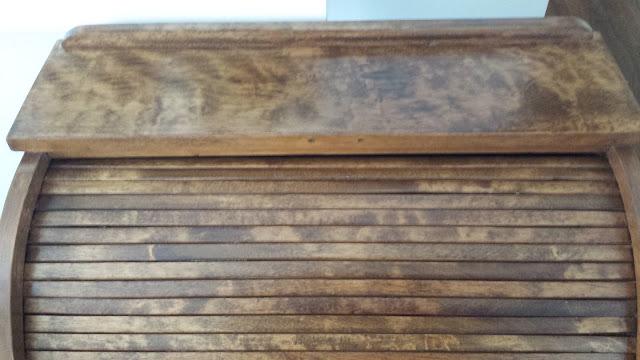
| Before, very and white film over stain |
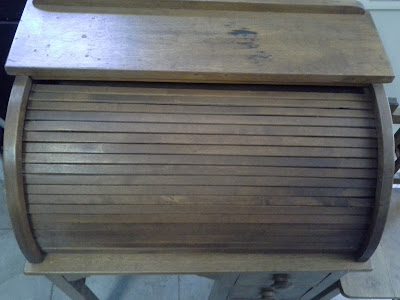 |
| Before, gap on top of roll top cover, black burn mark |
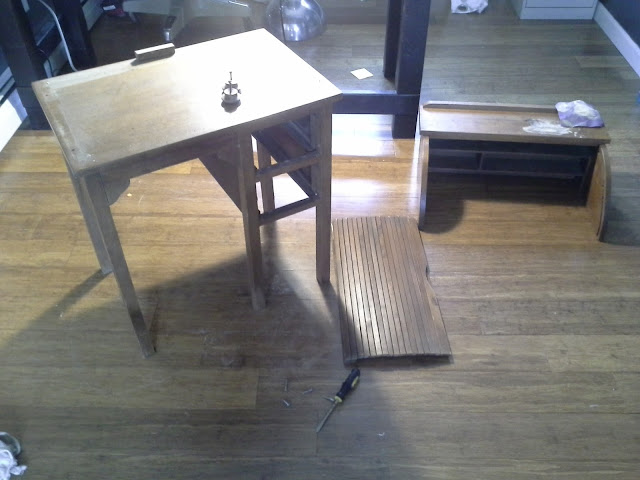
I decided I was going to sand the whole thing down and re-stain it. First I had to take it apart into as many pieces as I could. I removed the drawers, took four screws off from underneath the desk top to remove the top with the cubbies and slid off the roll top cover. I took one of the drawers with me to Home Depot to match the original stain and bought some supplies that I needed to refinish it.
I went home, sanded the finish off everything and I worked on the chair. The chair legs were loose and the seat was coming off so I fixed everything up, stained it and sealed it. I decided to work on the desk later because we where working on the kitchen cabinets and my customer did not need this done until March, for her granddaughters birthday.
 |
| Before, dull and scratched up |
 |
| Before, lots of wood filler, unstained piece of wood |
At the end of January I checked in with my customer and she surprised me by asking if I could finish it before Valentines Day instead. Two weeks was more than enough time so I replied yes. I told her once I finished the kitchen cabinets that week I would get it done for her. Usually I would put the customers furniture before my own, duh! But I was in a time crunch for the kitchen to get done because I was planning a surprise birthday party for my mom and my kitchen and dining room were in complete disorder. The stupid kitchen cabinets took way more time than we bargained for. I was still sealing them and putting on hardware the morning of the surprise party.
 |
| Mid way through kitchen cabinet makeover read more about it here and here |
Anyhow after that was over, I got right to work on the desk, another sanding, cleaning and staining. Something was bothering me though, the desk had a huge burn mark that I tried sanding and it wouldn't go away. So I tried scrapping it with an exacto knife and it was a very deep burn so I had no choice but to fill it with wood filler. I don't like wood filler too much because the stain never matches and this was a huge hole to fill. I continued to add more and more stain to it but it kept coming out much lighter no mater how much stain I used. I tried matching the stain color with acrylic paint but it looked bad so I wiped it off and tried a darker stain color and this finally worked! You can still see the mark where the burn was but it's much more blended now and I am very happy with the results.
 |
| Black burn mark before sanding |
 |
| After stained and blended |
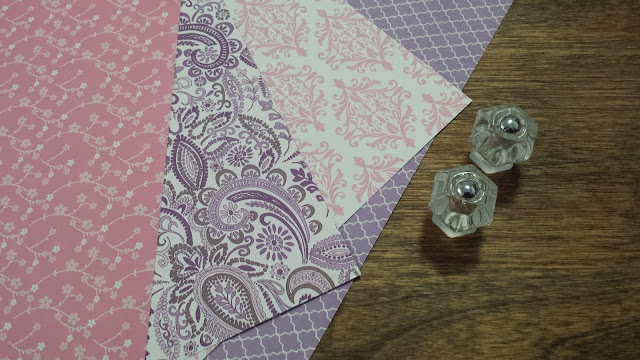
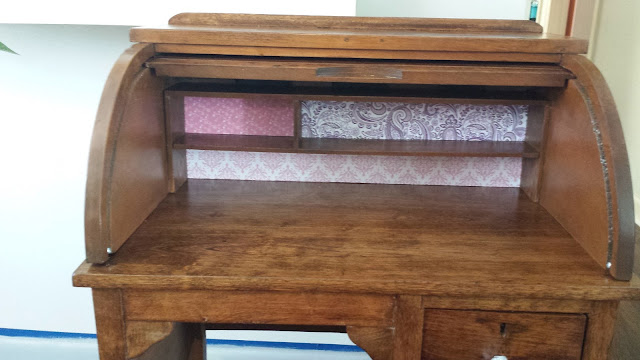
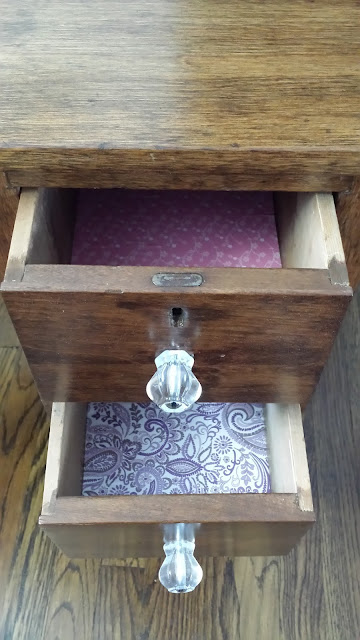
I asked my customer if I could change the existing wooden knobs for vintage glass ones and decoupage the drawers with pretty paper and she loved the idea. I asked her what was her granddaughter's favorite color so that I could get the scrapbook paper in that color, she replied "pink and purple (my daughters favorite colors :-)." I bought the knobs at Home Depot and went to Michaels for the scrap book paper. I wanted the paper to have little flowers to stick with the vintage feel of the desk and the hardware. I found these pretty options, I only ended up using three of them. I decoupaged the drawers and did the same to the backs of the cubbies because I'm nice like that!
Finally it was time to clear coat it. I used multiple layers for extra protection, after all it is a kids desk! I waited a day before I put it all back together. After I screwed in the top I noticed the gap on the roll top.
 |
| Huge gap!!! |
I tried fixing it by screwing a pair of short, round head screw in the groves where the roll top sits. I predrilled the holes first so that the wood wouldn't split. I put everything back together and it worked, now there's a smaller gap on the bottom instead of the top which is a lot less noticeable.
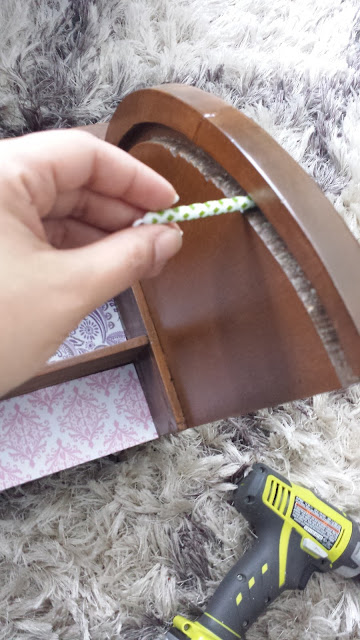
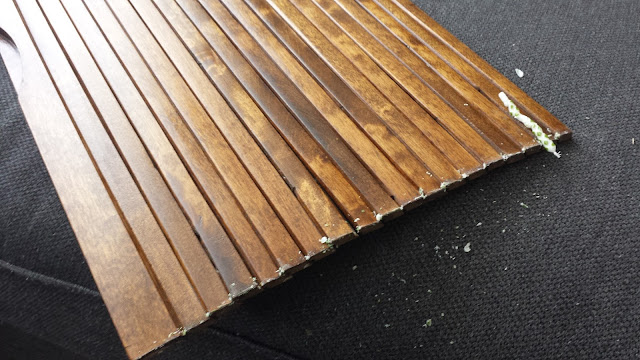
But... of course, there's always a but, the roll top wouldn't slide smoothly. This could drive the little girl nuts, when she tries to open and close it. So I disassembled everything once again, and I used a birthday cake candle (leftover from my mom's surprise birthday party) and glided it up and down the groves and on the roll top itself. Then I screwed everything back together again and it glides much smoother now, so hopefully the little girl wont get frustrated when opening and closing her desk.
That's it! The desk is done and I'm in love with it! I'm so glad my customer liked the idea of adding the paper and the glass knobs, these little details make all the difference. I love peeking inside the drawers and cubbies to see the pretty paper. I wish I was 4 years old and my customer was my grandmother so that this little desk could be my Valentines Day gift!
 |
| Before |
 |
| After |
This was a long post but I just wanted to share how I refinished this roll top desk. I skipped a few things, like, how I bought an antique refinishing product, that I then realized had a bunch of Warnings and Danger signs. I opted out and went with my good ole sanding, staining routine. I didn't take a lot of behind the scenes pictures either (bad blogger, I know) I was too focused. I did a lot of research and thinking, I took it one step at a time, and I did a few trials and errors and improvising where I needed. This ended up being a very thoughtful process and a very fun project.
I know I owe you guys some kitchen cabinet makeover pictures but that will be on the next post! So stay tuned for that!!
Linking up


