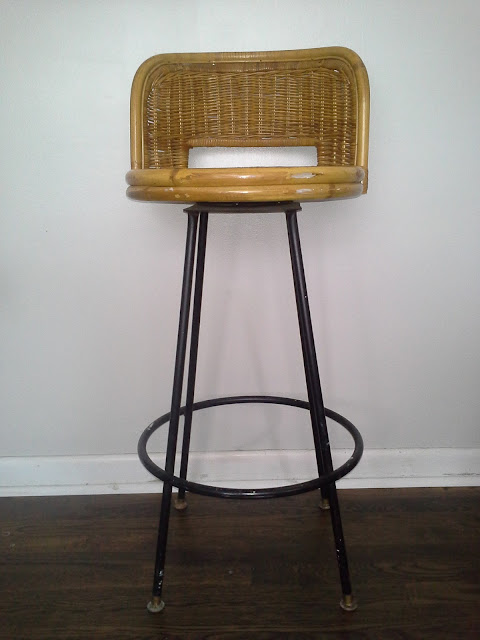
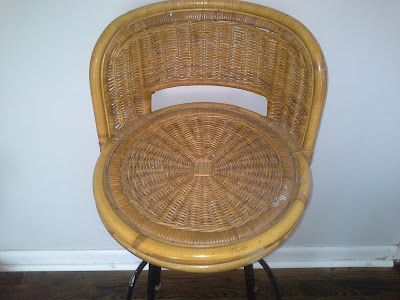
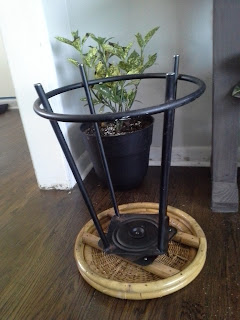
On my way back from taking my daughter to school I spotted a bar stool waiting to catch a lift from the dumpster truck, instead I gave her a lift on my pick up truck and brought her home with me. Classy eh! The top was constructed of some pretty solid rattan material and the bottom of sturdy, leggy, metal. She was in perfect shape I don't know why they let her go but now she's in good hands.
At first I was going to leave it as is and use it as a plant stand but you know me, I just can't leave furniture in it's original state. I decided I was going to turn it into a side table. I've been wanting a table in between the two chairs in the living room. I wanted a round table that was made of metal or wicker so this was a perfect blend. Once I got the idea in my head I asked my husband if he could take it to work and shorten the legs for me, but first I needed to remove the back support of the stool. This was a pain in the you know what.
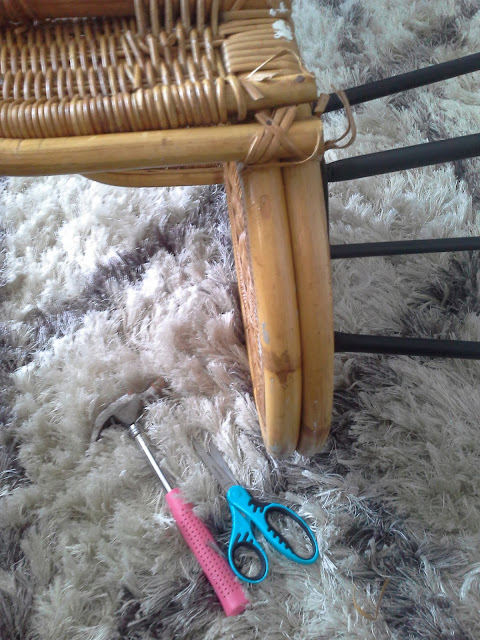
I started with some simple supplies, a little scissor and a small hammer. I began to unravel the rattan by cutting some pieces and pulling out some small nails.
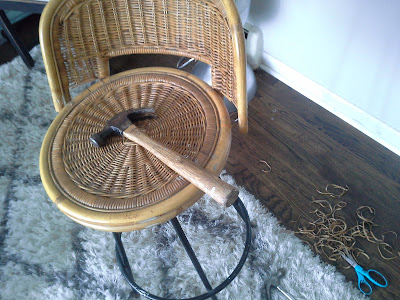
Twenty minutes later the stool still looked like this and the little nails were being a pain to take out, so I grabbed a bigger hammer (or as my husband would call it a real hammer). I was getting a little frustrated and I was banging on it with the hammer and pulling and cutting and nothing.
So I did what I should have done since the beginning, I went to the garage, grabbed a jig saw and in just a few minutes wha lah, presto, done-zo! I just love power tools.
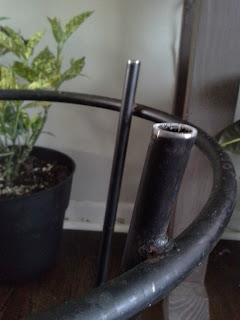
Now it was my husbands turn to help with the makeover. He took it to work, removed feet and brought it back table size. The feet were very rusty and corroded but I was going to fix them up and reuse them so that the bottom of the fresh cut legs wouldn't scratch the floors. I used a small wire brush to clean off some of the rust.
Next up was separating the top from the bottom to start prepping them for the paint chamber. The metal was screwed into the wood at the bottom of the seat with just four screws, easy peasy. When I removed them the top of the metal base was very dusty and dirty so I cleaned everything up with a brush and wet cloth. I used the brush for the wicker to make sure I got into all the little crannies.
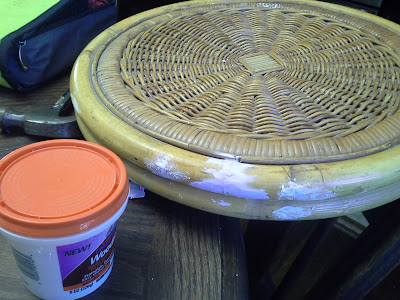
I used wood filler to fill all the little holes where I had taken the nails off and some of the cracks that divided the bamboo pieces. Then I sanded everything by hand with fine grit sand paper including the metal to get some of the rust off and give the primer some extra adhesion. I cleaned up all the dust with a damp cloth.
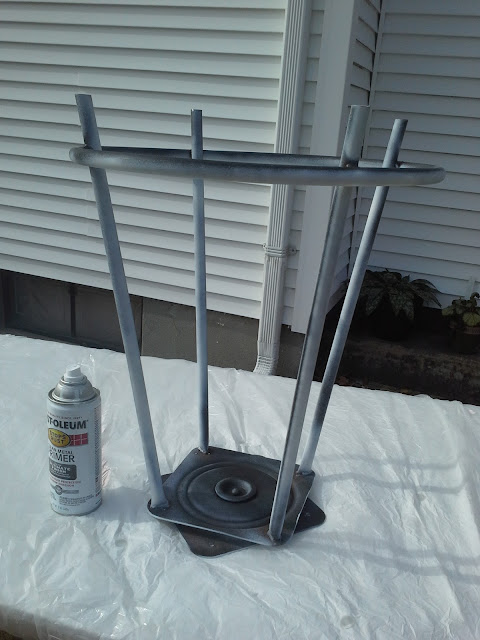
Finally I was ready to start priming and painting. Since the base was made of metal and it had a little bit of rust I used a Rust-oleum stops rust clean metal primer in the spray can. I did two light coats of the primer.
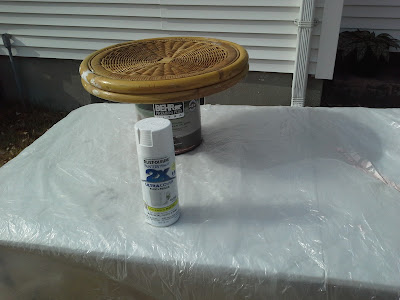
While the bottom part dried I got started on the wicker top part. I propped it up on top of a can of paint so that the paint could get under the rounded edges. I used Rust-oleum painter's touch 2x ultra cover paint + primer in gloss white. I did very light coats to get even coverage and avoid drips, waiting a few minutes between each coat. It took 5 coats of paint for full coverage.
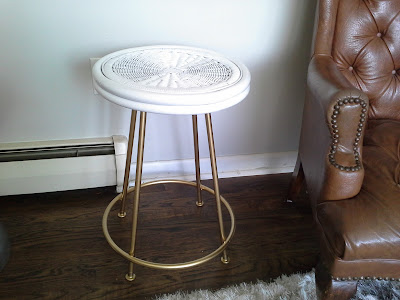
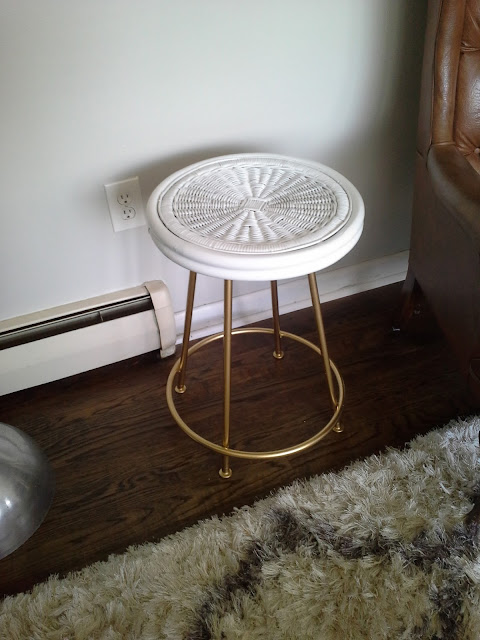
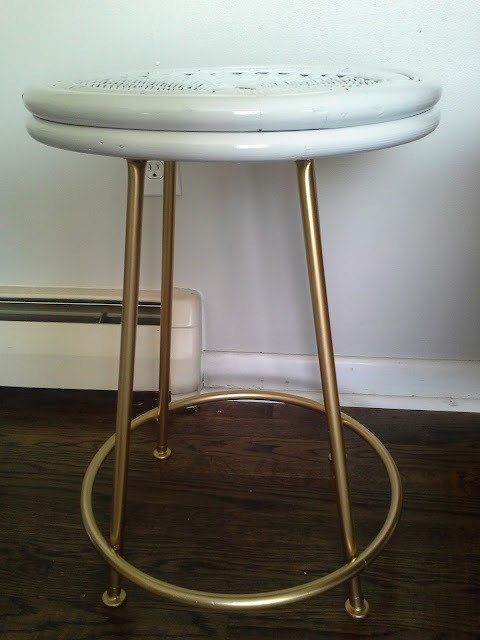
Actually this side table is perfect. I couldn't resist bringing it inside once it was dry to take some pictures. It's not even screwed back on yet, I just placed it on top.
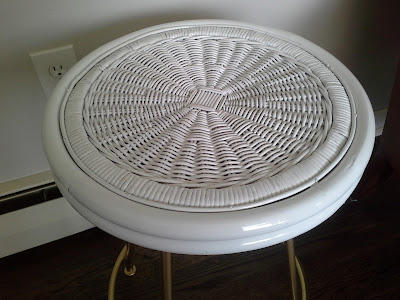
The gold and white combination looks so beautiful. Look at that shine, it's perfectly glossy all around. I'm so happy that I found this stool and decided to give it a completely different look and purpose. Now I need to give it a couple days before I bring it back inside the house so that it can fume off and so that the paint cures really good and I can place things on top. I can't wait for that, I'm so excited!
Linking up to
Momma Told Me * Showcase Your Talent Thursday * Happy Home Life * Coffee and Conversation * Way Back Wednesday * Worthwhile Wednesday * Your Gonna Love it Tuesday * A Little R & R Wednesdays * Wonderful Wednesday * Creative Muster * Tutorial Tuesday * Let's Be Friends * Not Just Homemaking * Turn it up Tuesday * Tuesday Talk * Meet up Monday * Inspiration Monday * Happiness is Homemade * The Inspiration Board * One Project at a time * Be inspired * Best DIY Projects * Wicked Awesome Wednesday
Create link Inspire *Make it Pretty Monday * Artsy Fartsy * Talk of Town * Creativity Unleashed *
Create link Inspire *Make it Pretty Monday * Artsy Fartsy * Talk of Town * Creativity Unleashed *

